Updates & Other Features
7 Others
7.1 Update for Capture
- Power on the device host.
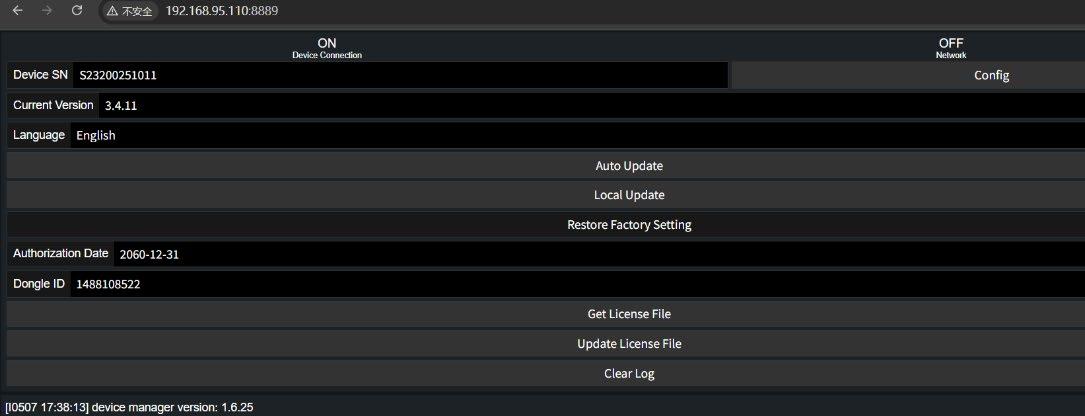
- Use the handheld terminal to connect to the device's Wi-Fi, then log in to the page at IP address: 192.168.95.110:8889.
Figure 7-1
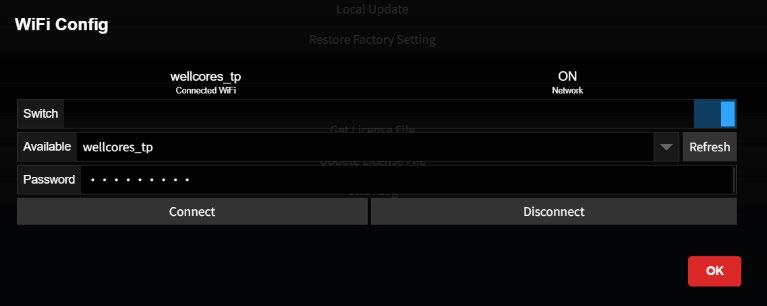
- Click “Config”, then Refresh, select the network, enter the password, click Connect to join the network, and finally click OK.
Figure 7-2
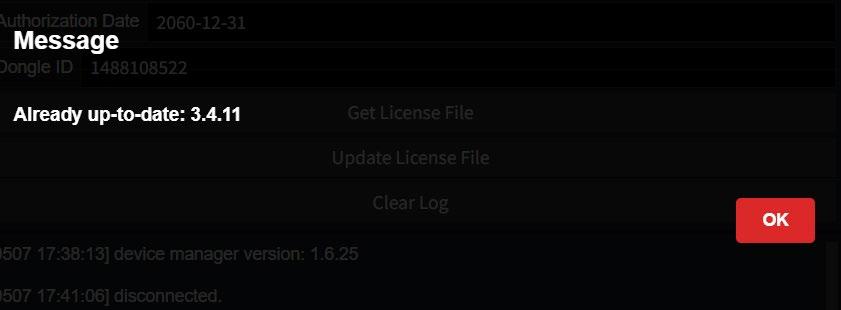
- Click “Auto Update”, the latest available version will be displayed, click OK to update. If the device is already up to date, the message will appear as shown below.
Figure 7-3
- For any other issues that cannot be resolved, please contact Tersus technical support team.
7.2 Real Time Point Cloud Display
- Update the TersusMVP Capture to version to 3.4.3 or above.
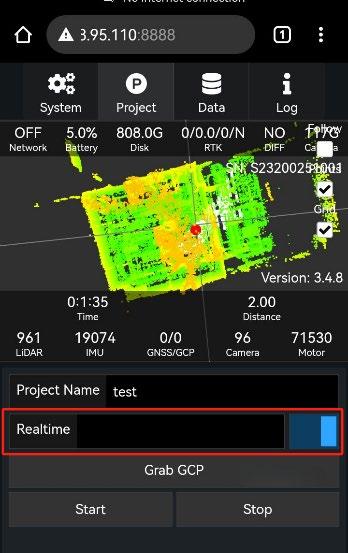
- Switch on “Realtime” button.
Figure 7-4
- Real-time mapping data output: After data collection is completed, the real-time mapping data will be copied to the "data" folder along with the original data, in LAS format.
Figure 7-3
Figures
Support: support@tersus-gnss.com