Introduction
This chapter introduces the brief introduction, system requirements, installation, activation, and main interface.
Brief Introduction
The Tersus GeoCaster is a Networked Transport of RTCM via Internet Protocol (NTRIP) Caster software which allows GNSS correction data such as RTCM corrections to be repeated and sent to different end users via internet. It supports configurable bases online simultaneously and configurable rovers for one base. The end users involve in various areas including surveying, construction engineering, deformation monitoring, automated vehicle, precision agriculture, Unmanned Aerial Vehicle, machine control, robotics, and etc.
System Requirements
Tersus GeoCaster is to run on a wide range of different computer configurations. The systems requirements are listed as below:
Table 1[]{#_Toc24813 .anchor} System Requirements for GeoCaster
Operating System Microsoft Windows 7, 8, 10 (32-bit and 64-bit)
Hardware Minimum Recommended
Processor Intel Core i3 Intel Core i5
RAM 4GB 8GB
Hard disk 10GB 1TB
Graphics card Direct X9 compatible integrated graphics Direct X9 compatible 2GB discrete graphics
Internet Connection Ability to originate both http and https (SSL) connections
Installation File
Download the installation file from Tersus website
https://www.tersus-gnss.com/software or contact Tersus Technical Support by email support@tersus-gnss.com to obtain the installation file.
Installation
Right click the installation file (with .exe extension) and choose 'Run as administrator', the installation process starts as below.
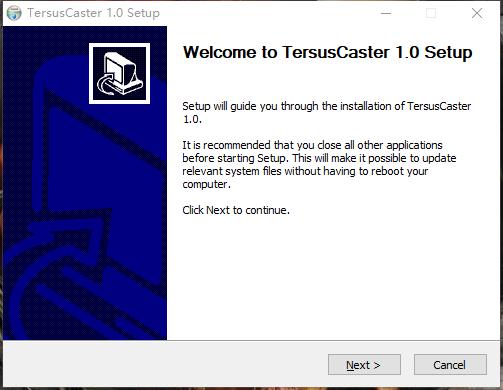
Figure 1.1[]{#_Toc20803 .anchor} Start to install GeoCaster
Click [Next] to move to the next step.
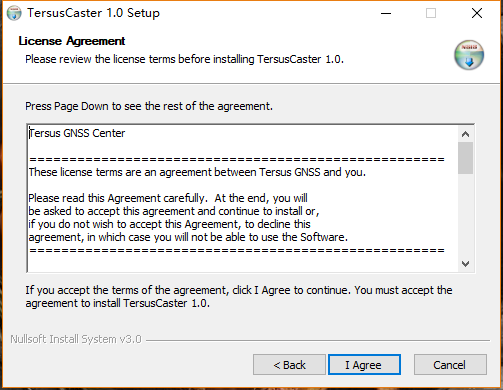
Figure 1.2[]{#_Toc23426 .anchor} Read license agreement
Click [I Agree] to accept the agreement, and move to the next step.
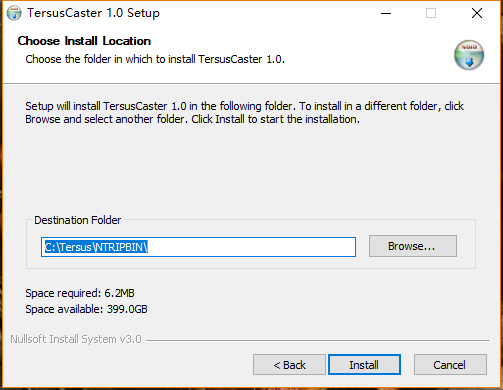
Figure 1.3[]{#_Toc21249 .anchor} Choose install location
Browse the appropriate folder to install the software, click [Install] to start to install.
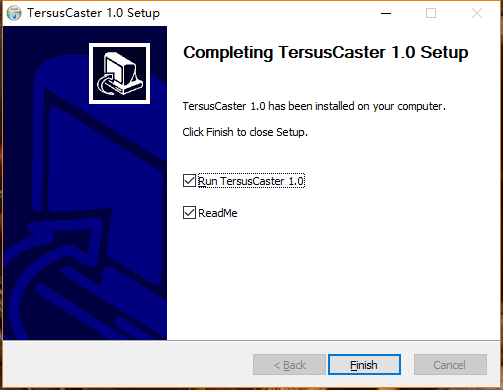
Figure 1.4[]{#_Toc6776 .anchor} Finish the installation
After a few minutes, the installation is completed. Click [Finish] to finish the installation.
Activation
When first use the GeoCaster software, it should be activated by entering the activation code. To obtain the activation code, please send your machine sequence number to Tersus Technical Support by email
support@tersus-gnss.com and a unique string will be returned for activation.

Figure 1.5[]{#_Toc25632 .anchor} Register GeoCaster
If user clicks [Skip] in the above window, the software still cannot be opened and it pops out a warning window indicates that 'Please register software first'.

Figure 1.6[]{#_Toc7139 .anchor} Register warning
Main interface
When the software is properly activated, it enters the watchdog and main interface which is shown below. Or double click the GeoCaster icon  on the desktop to launch the software and enter the watchdog interface and the main interface.
The watchdog interface helps GeoCaster user to monitor caster status and set up SMS notification.
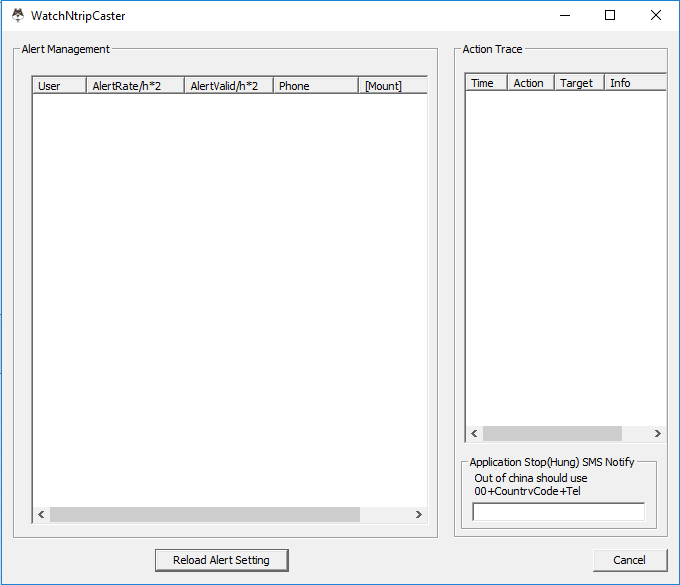
Figure 1.7[]{#_Toc5119 .anchor} Watchdog interface

Figure 1.8[]{#_Toc4040 .anchor} GeoCaster main interface
The GeoCaster main interface is shown above, and detailed operation will be described in the next chapter.